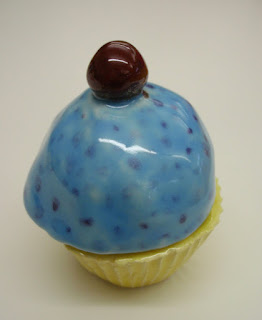
Aren't these adorable????
For our 4th grade clay project this year I decided to try these cute clay cupcakes. They were so easy and fun. The students loved them and made them as gifts for Mother's Day. I purchased 24 silicone cupcake liners at the local craft store for this project.
Begin by showing the students how to create a pinch pot. Rolling a small piece of clay (about the size of a golf ball) into a sphere. Using your thumb, put a hole in the center but don't go the whole way through or you will have a donut! Drop the ball of clay into the cupcake liner and begin pinching and turning so that it takes the shape of the liner. Once the clay extends over the top edge, cut the extra off so you have a flat edge. Next, you will need to make the top (or the icing) this time you are just going to make a pinch pot. Start the same way but you will not drop it into the liner this time. You will just pinch and turn the clay to form a bowl shape. Checking every so often to make sure it doesn't get larger than the cupcake base. The last step is to add the cherry. Make sure you slip and score!


No comments:
Post a Comment