 |
| By Jaden |
Students in 4th grade classes learn how to blend colors, shade and examine objects for simple shapes. Oil Pastels are easy to work with and allow for easy blending. This is the second year that I have done this project.
Materials Needed:
12 x 18 inch Black Construction Paper
White Colored Pencils
Oil Pastels
Images of Birds (I print out about 30 or 40 and then laminate them so that we can use them over again)
Drawing your bird & using oil pastels:
- We begin by looking at the images that I have printed out. I ask the students if they can identify the simple shapes in the images. Birds are wonderful for learning how to draw and looking for basic shapes. The main shapes students always see are circles, rectangles, triangles and ovals. They point out the part of the bird and the shape that they think is the closest.
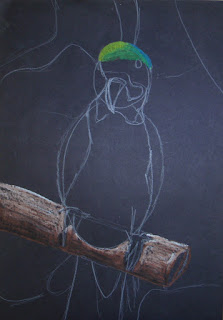
- Next, I demonstrate how to draw the bird using simple shapes. I start with the body (oval) and then the head (circle). Next is the beak, usually a triangle. The tail feathers are usually rectangles. I map these out using just the basic shape.
- Then I go back over the shapes and begin to soften the edges and try to make the shapes blend together.
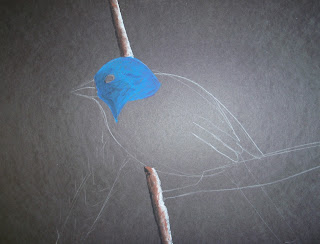
- Finally, I add the details-- the eye and wings. I also draw in the color changes.
- Now we are ready for the oil pastels. We use Crayola Oil Pastels. We talk about color and examining colors a bit more to determine if the color is the same as the color out of the box. The students always agree that the colors in real life are always a mixture of colors and not just the colors we see in a box. So we begin with a base color. Perhaps our bird is blue. We use one color of blue as the base and then build upon that with a lighter or darker blue, looking for the highlights and shadows.
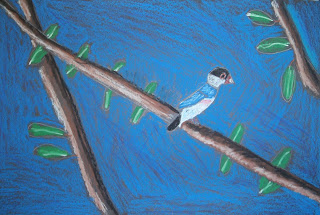
- We do the same thing with the branches- start with a base of brown and then add white for the highlights and a little black for the shadow. We also talk about using complementary colors to create shadows.
- Next we color the leaves, flowers and plants.
- Our last step is to color in the background.
- The students spend about 2-3 forty minute classes on their birds.
Every year I am impressed with how well they can break down an object to find the basic shapes. They are always pleased with themselves and proud of how beautiful their birds look.
 |
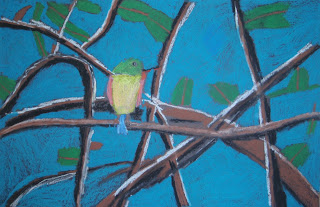
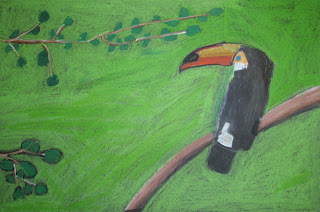
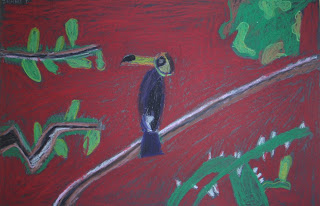
| This is one of my examples-showing the basic shapes & blending. |
 |
| Example showing shading and blending. |
 |
| Student created bird. |
 |
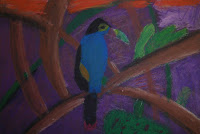
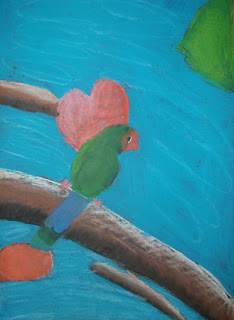
| By Alex |
 |
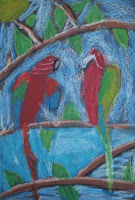
| by Kaqu |
 |
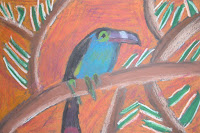
| by Kameran |
 |
| by Devin |
 |
| By Zach |
|
 |
| By Donna |


No comments:
Post a Comment